If you follow the steps below you can easily send data from a cPart and see the sent data in the Particle Analyser. Please note, that this guide is written for Windows (for device drivers and software for linux see http://particles.teco.edu/software/index.html)!
| cpart | |
|---|---|
| USB bridge | |
Install the Java Development Kit as described on the Sun page.
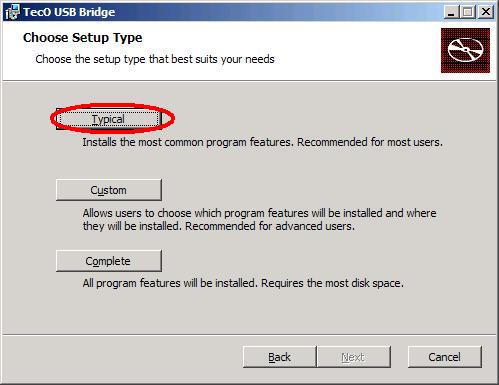
Start usbbridge_v100.msi from your computer and choose 'Typical '
If finished, you should find a link to the program on your desktop.
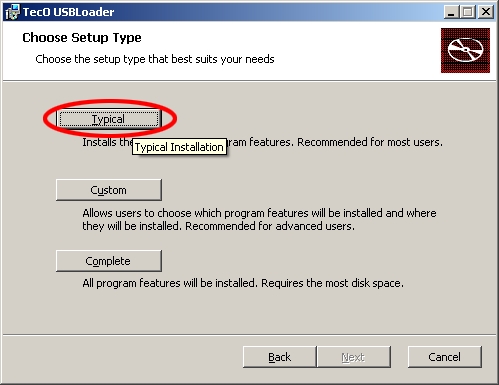
Start usbloader.msi from your computer and choose 'Typical '
After the installation process .hux files are registered to start with the USB Loader.
Extract the usbbridge_v200_driver_libusb.zip into a directory of your choice.
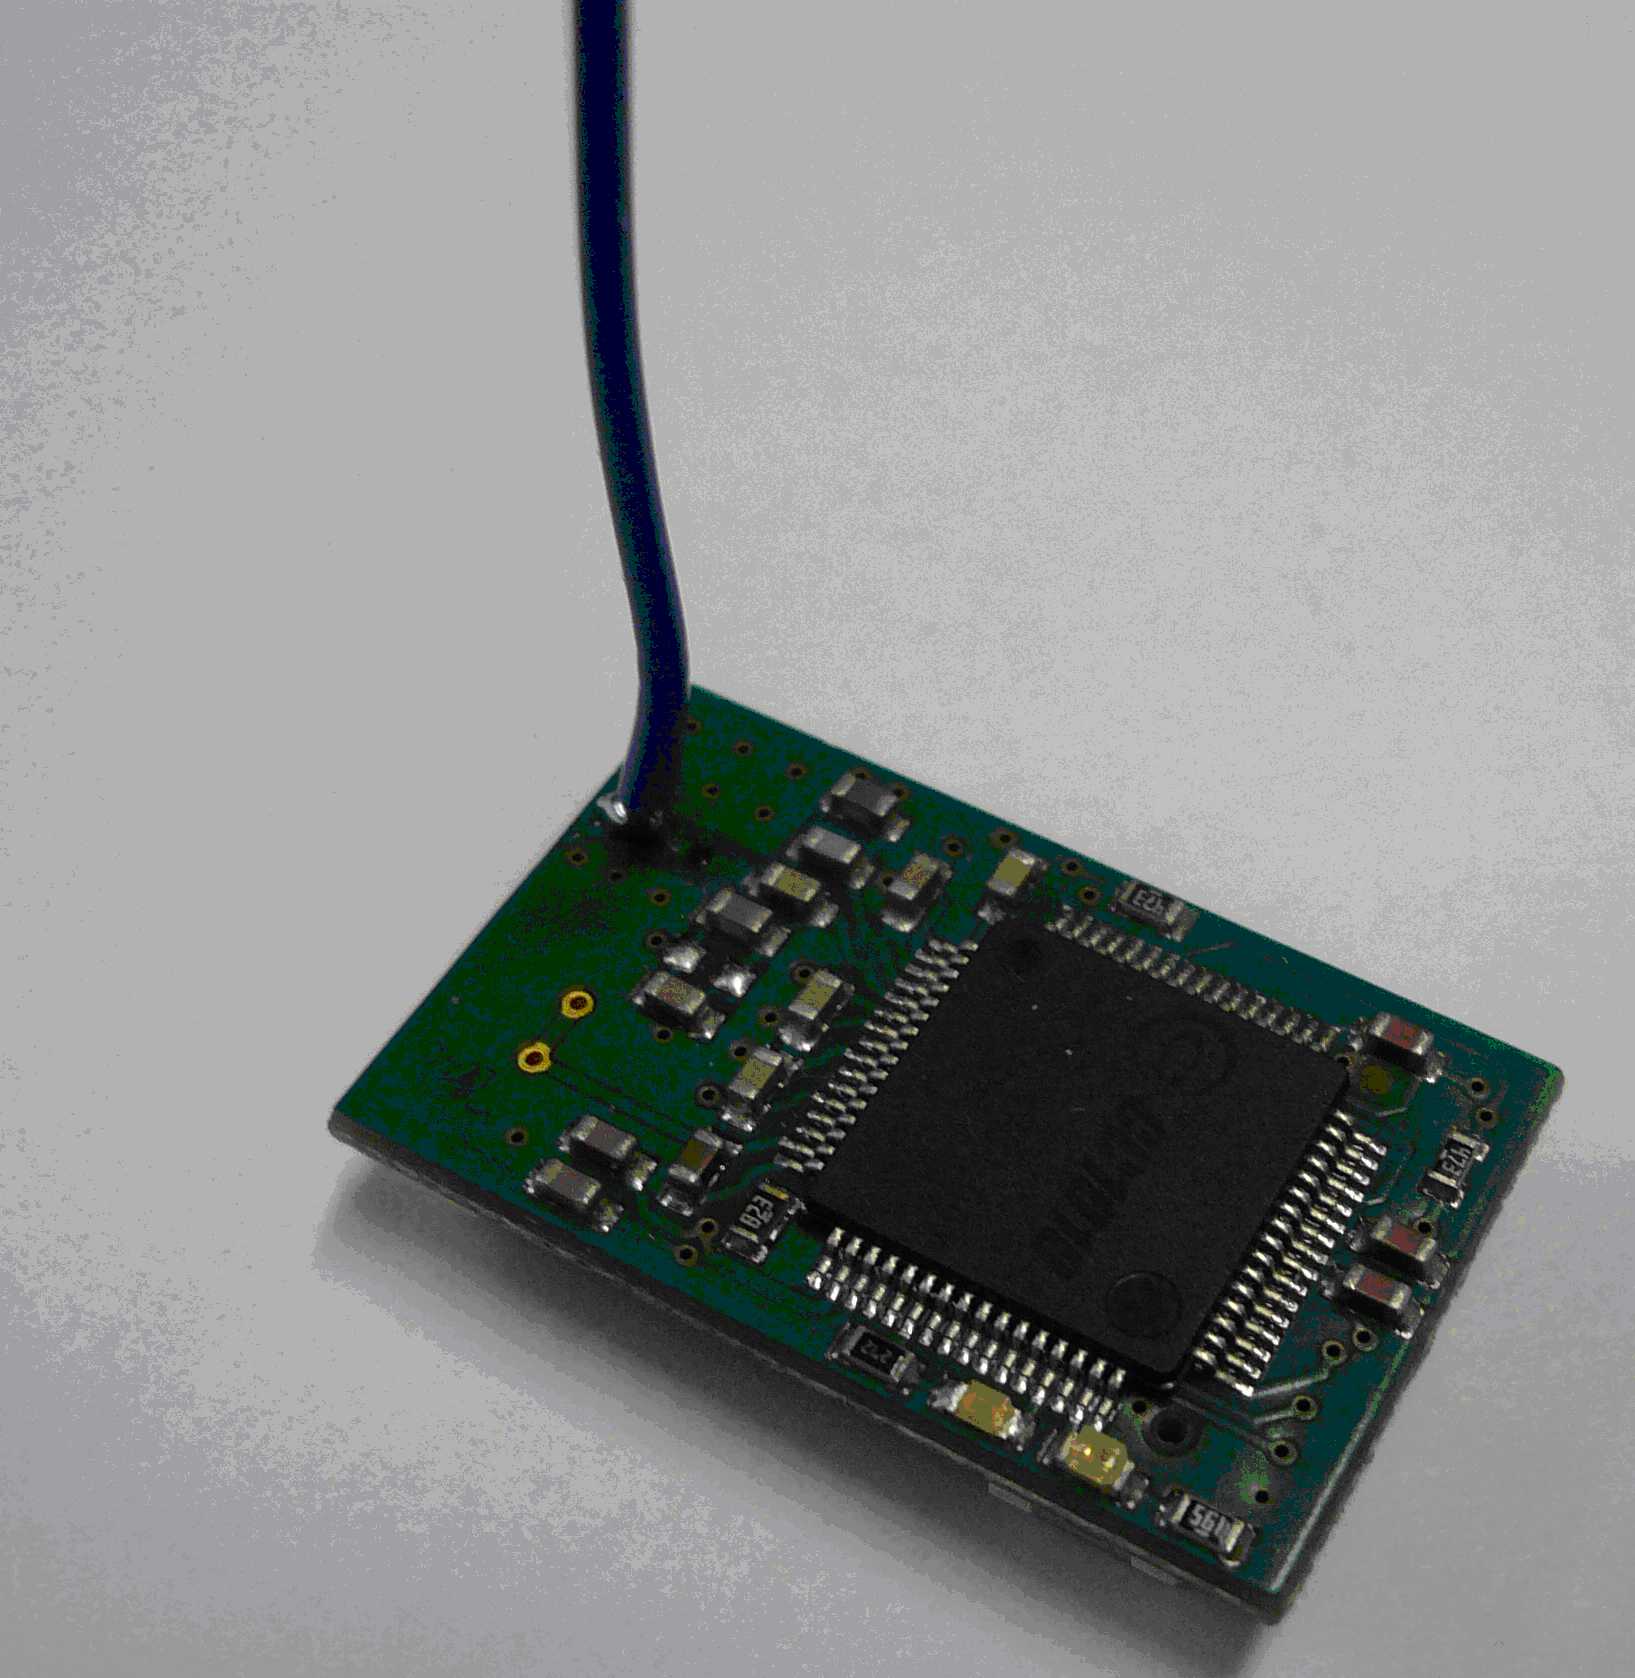
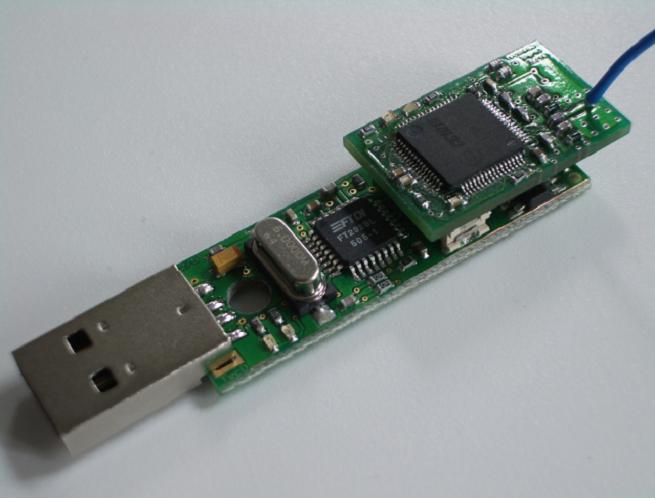
Now insert the USBBridge in your
USB port. Please note that the receiver (cPart) should be
connected on the USB board on top like in the image shown below.
Windows will now request you to select the driver.
Specify the Driver directory you chose earlier. The
installation concludes automatically the correct .inf file.
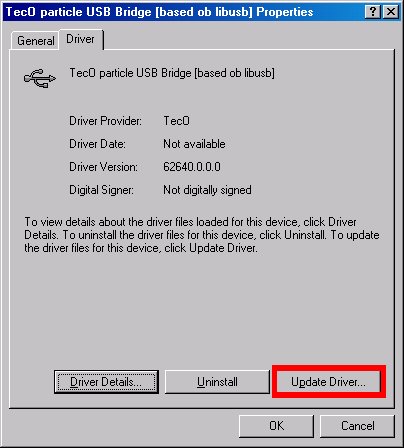
Check for the "TecO particle USBBridge [based on libusb]" in the Device Manager. It
should read like the following:
![]()
If you have already installed an older version of the USBBridge driver, please update it:
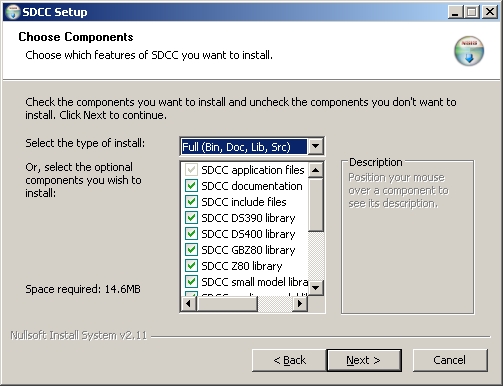
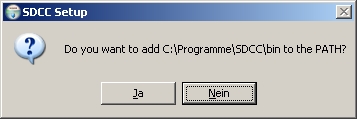
Start sdcc_20060226_setup.exe and choose full installation
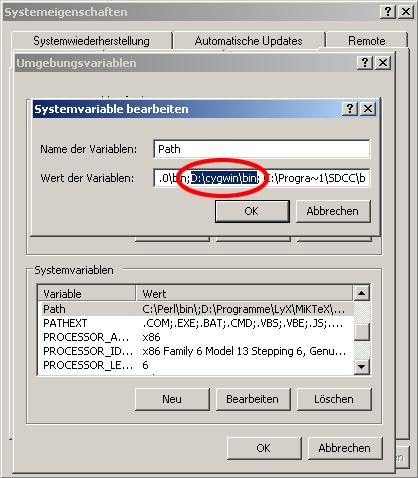
Make sure that sdcc is added to the path environment on your system.
Start the setup.exe.
Click yourself through the installation.
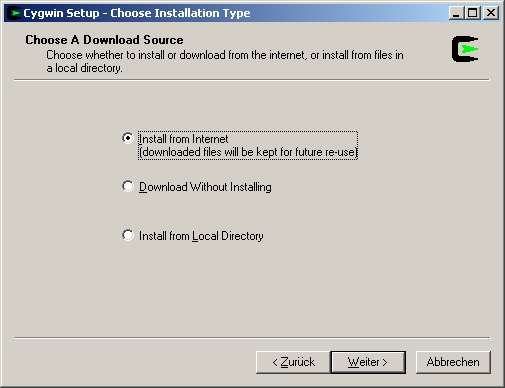
Choose install from the internet, select a directory (Note: Please don't use spaces in the directory, cygwin had problems with that in former versions) and select a mirror in the next dialogues.
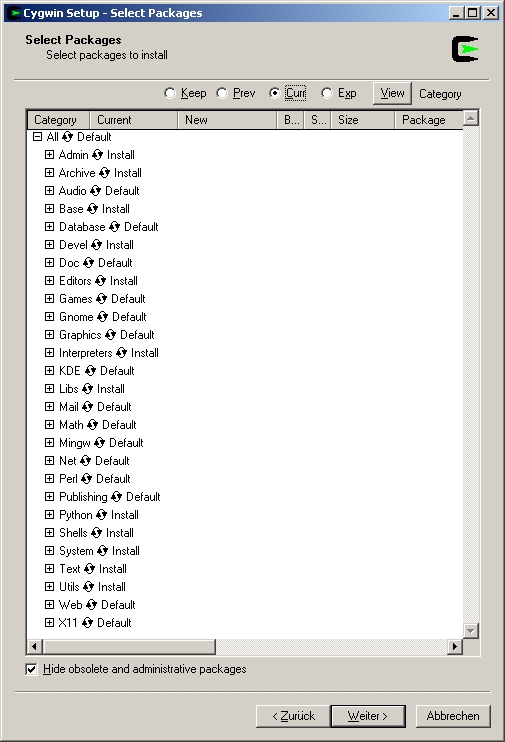
Just to be sure install at least the following packages: Admin, Archive, Base, Devel, Doc editors, Interpreters, Libs, Perl, Python, Shells, System, Text, Utils. Now the neccessary files are downloaded and installed. This might take a while...
Please take care that you cygwin\bin folder is added to the path environment of your system otherwise add it.
Extract the cpart_CSMA.zip to your cygwin home folder if it doesn't exist start cygwin first so the home directory is being created.
Start cygwin from the link on your desktop. The first steps are to check if cygwin and sdcc are installed correctly and compile the demo project.
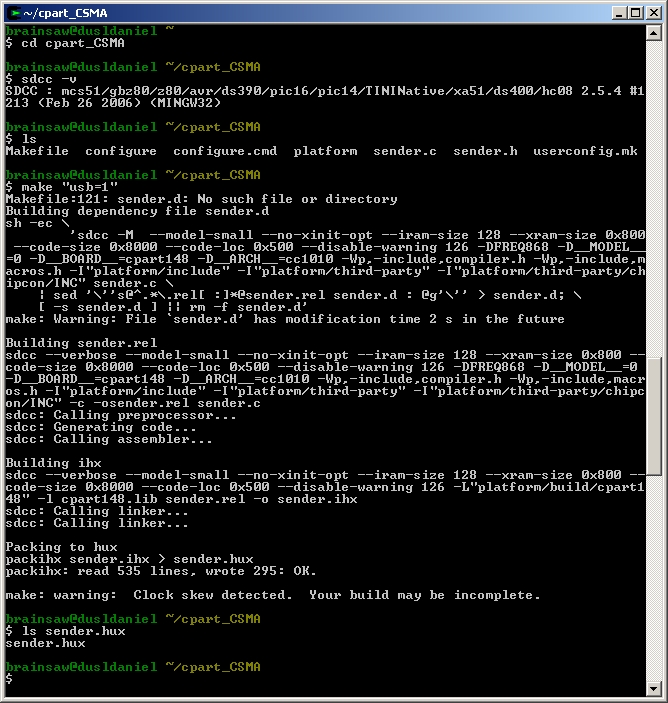
Change to the path where you installed the demo code directory. Try sdcc -v and see if it's installed correctly. After that try to build the demo project with make "usb=1". Now a .hux file is created which you can flash to your cPart with the next step. If you need a .hex file to flash it with a programmer like GALEP just leave the "usb=1" out.
Note: You have to put 'make clean' before you can compile the next time (or touch the source files)
First you have to insert a USB bridge (without a cPart on it). Eventually you need to install the driver again, just choose the directory you extracted usbbridge_v200_driver_libusb.zip to.
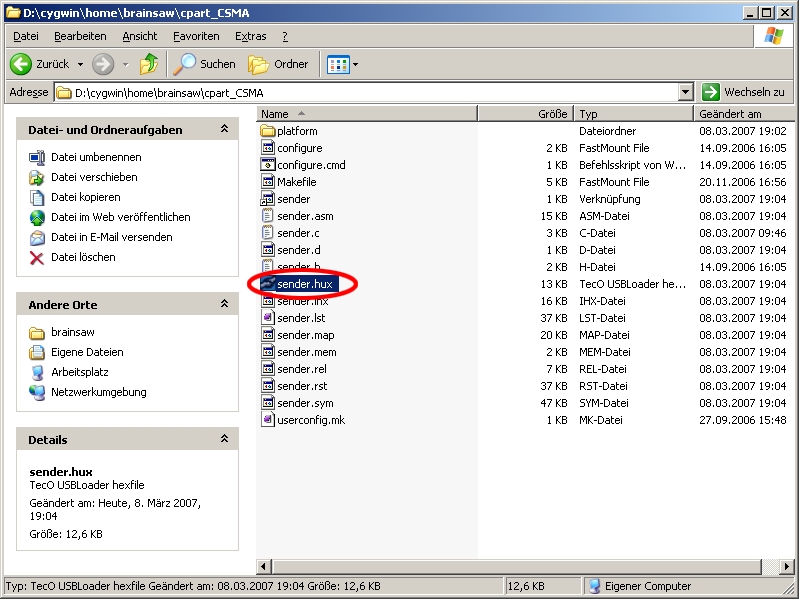
The double click on the generated .hux file (here sender.hux).
The following console appears then:
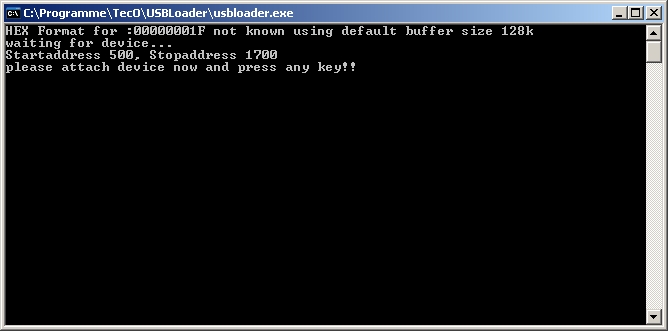
Now you can attach the cPart. The blue and red leds will glow. Now you have 3 seconds to press enter and begin the flashing of the demo hux file. A number indicates how many bytes are written. If it stops before the maximum is reached you need to try again. If you missed the 3 seconds you will also have to try again.
Note: Before you can flash a .hux file on a cPart you need to install a bootloader to it with a programmer. Otherwise you are not capable of flashing via USB. Download the .hex file for the bootloader here: cc1010_bootloader.hex
How to flash the cc1010_bootloader.hex will be described in a later tutorial.
For more information about ACL tuples or how to use the libparticle framework to write client applications see the documentationat the particle website.